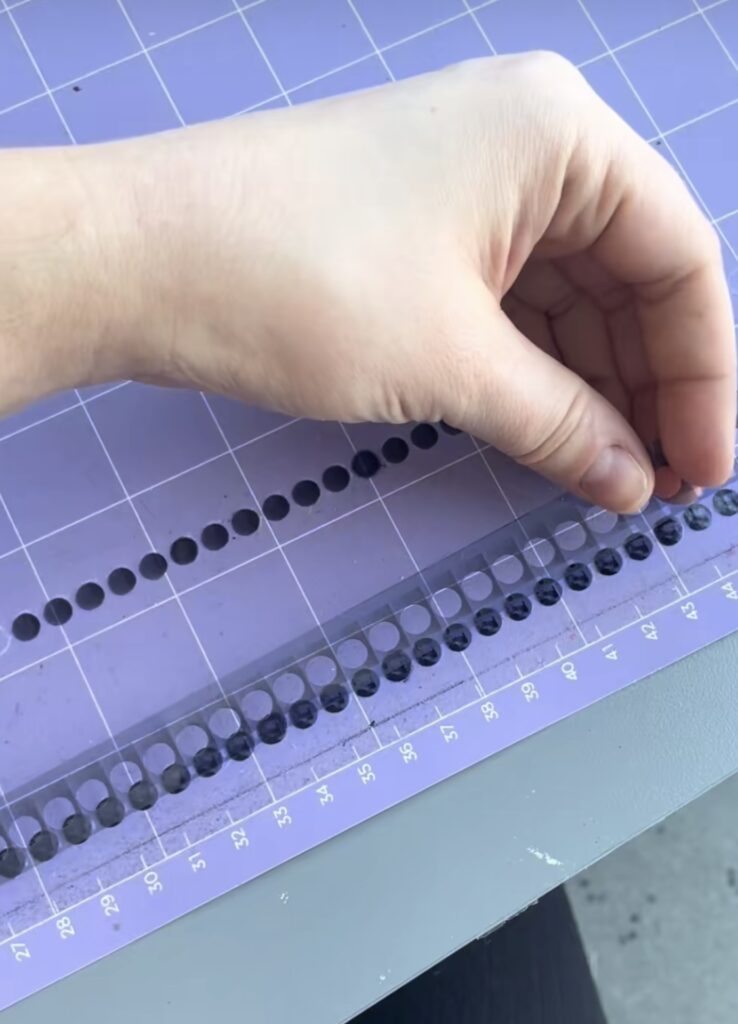
To make the film through the bushes and the trees, you’ll find me I used a Cricut, a crafting machine that looks like a printer and has a tiny blade that allows you to cut out all sorts of intricate and customized designs onto materials like vinyl and, acetate – now film stock. Using a digital software, you program the machine to tell it where to cut, how many times to cut with the blade and what kind of material you are working with. I was first introduced when my MFA cohort member, Francisco Berlanga, had it cut into steel during the summer of 2023 when we had weekly printmaking clubs at UBC.
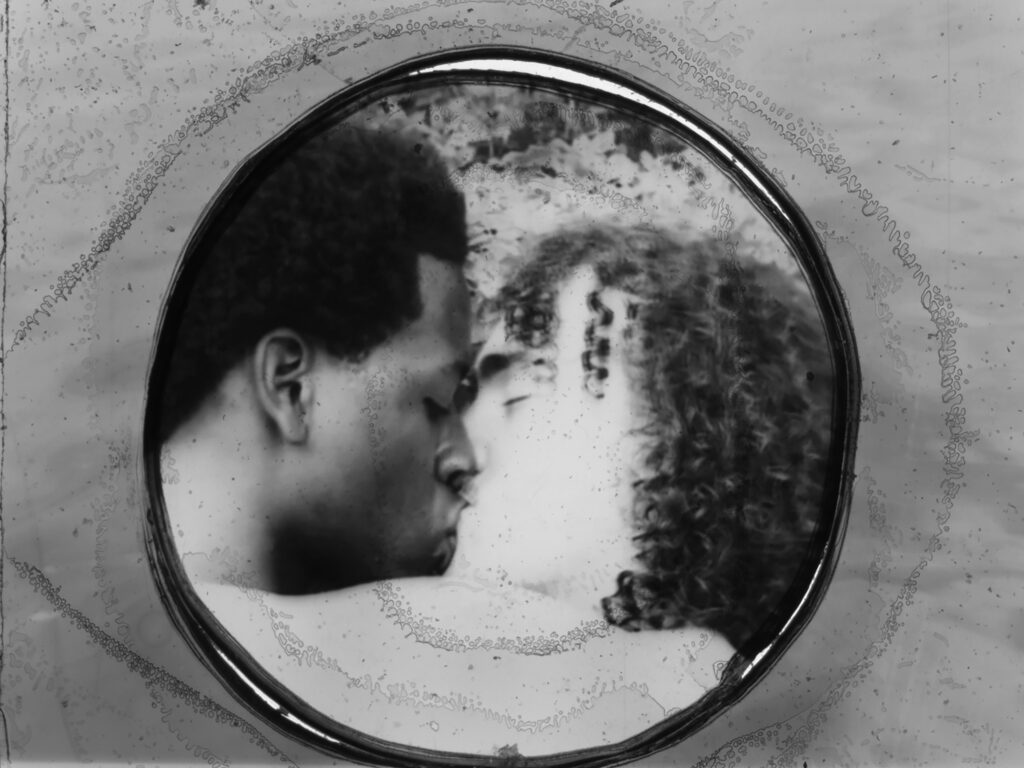
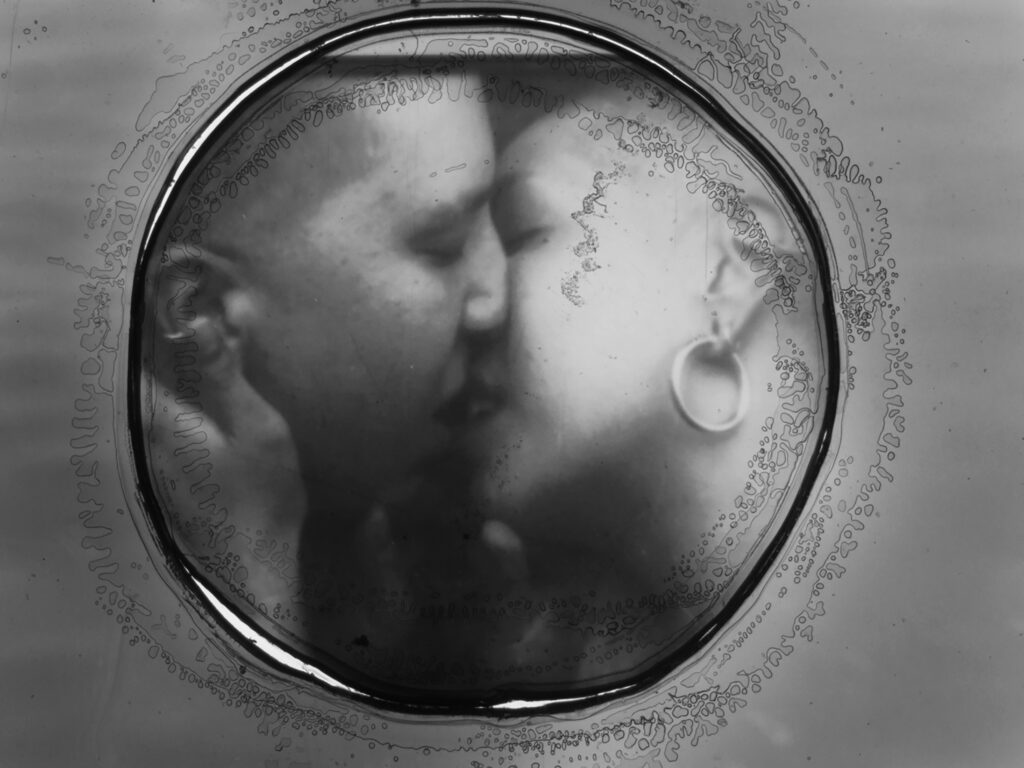
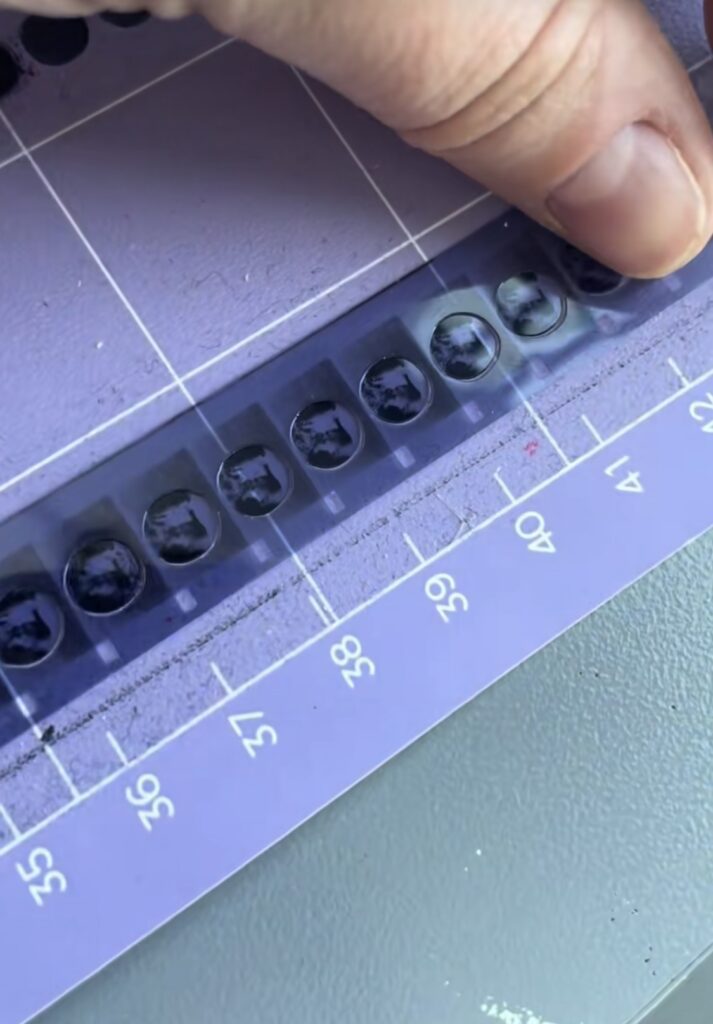
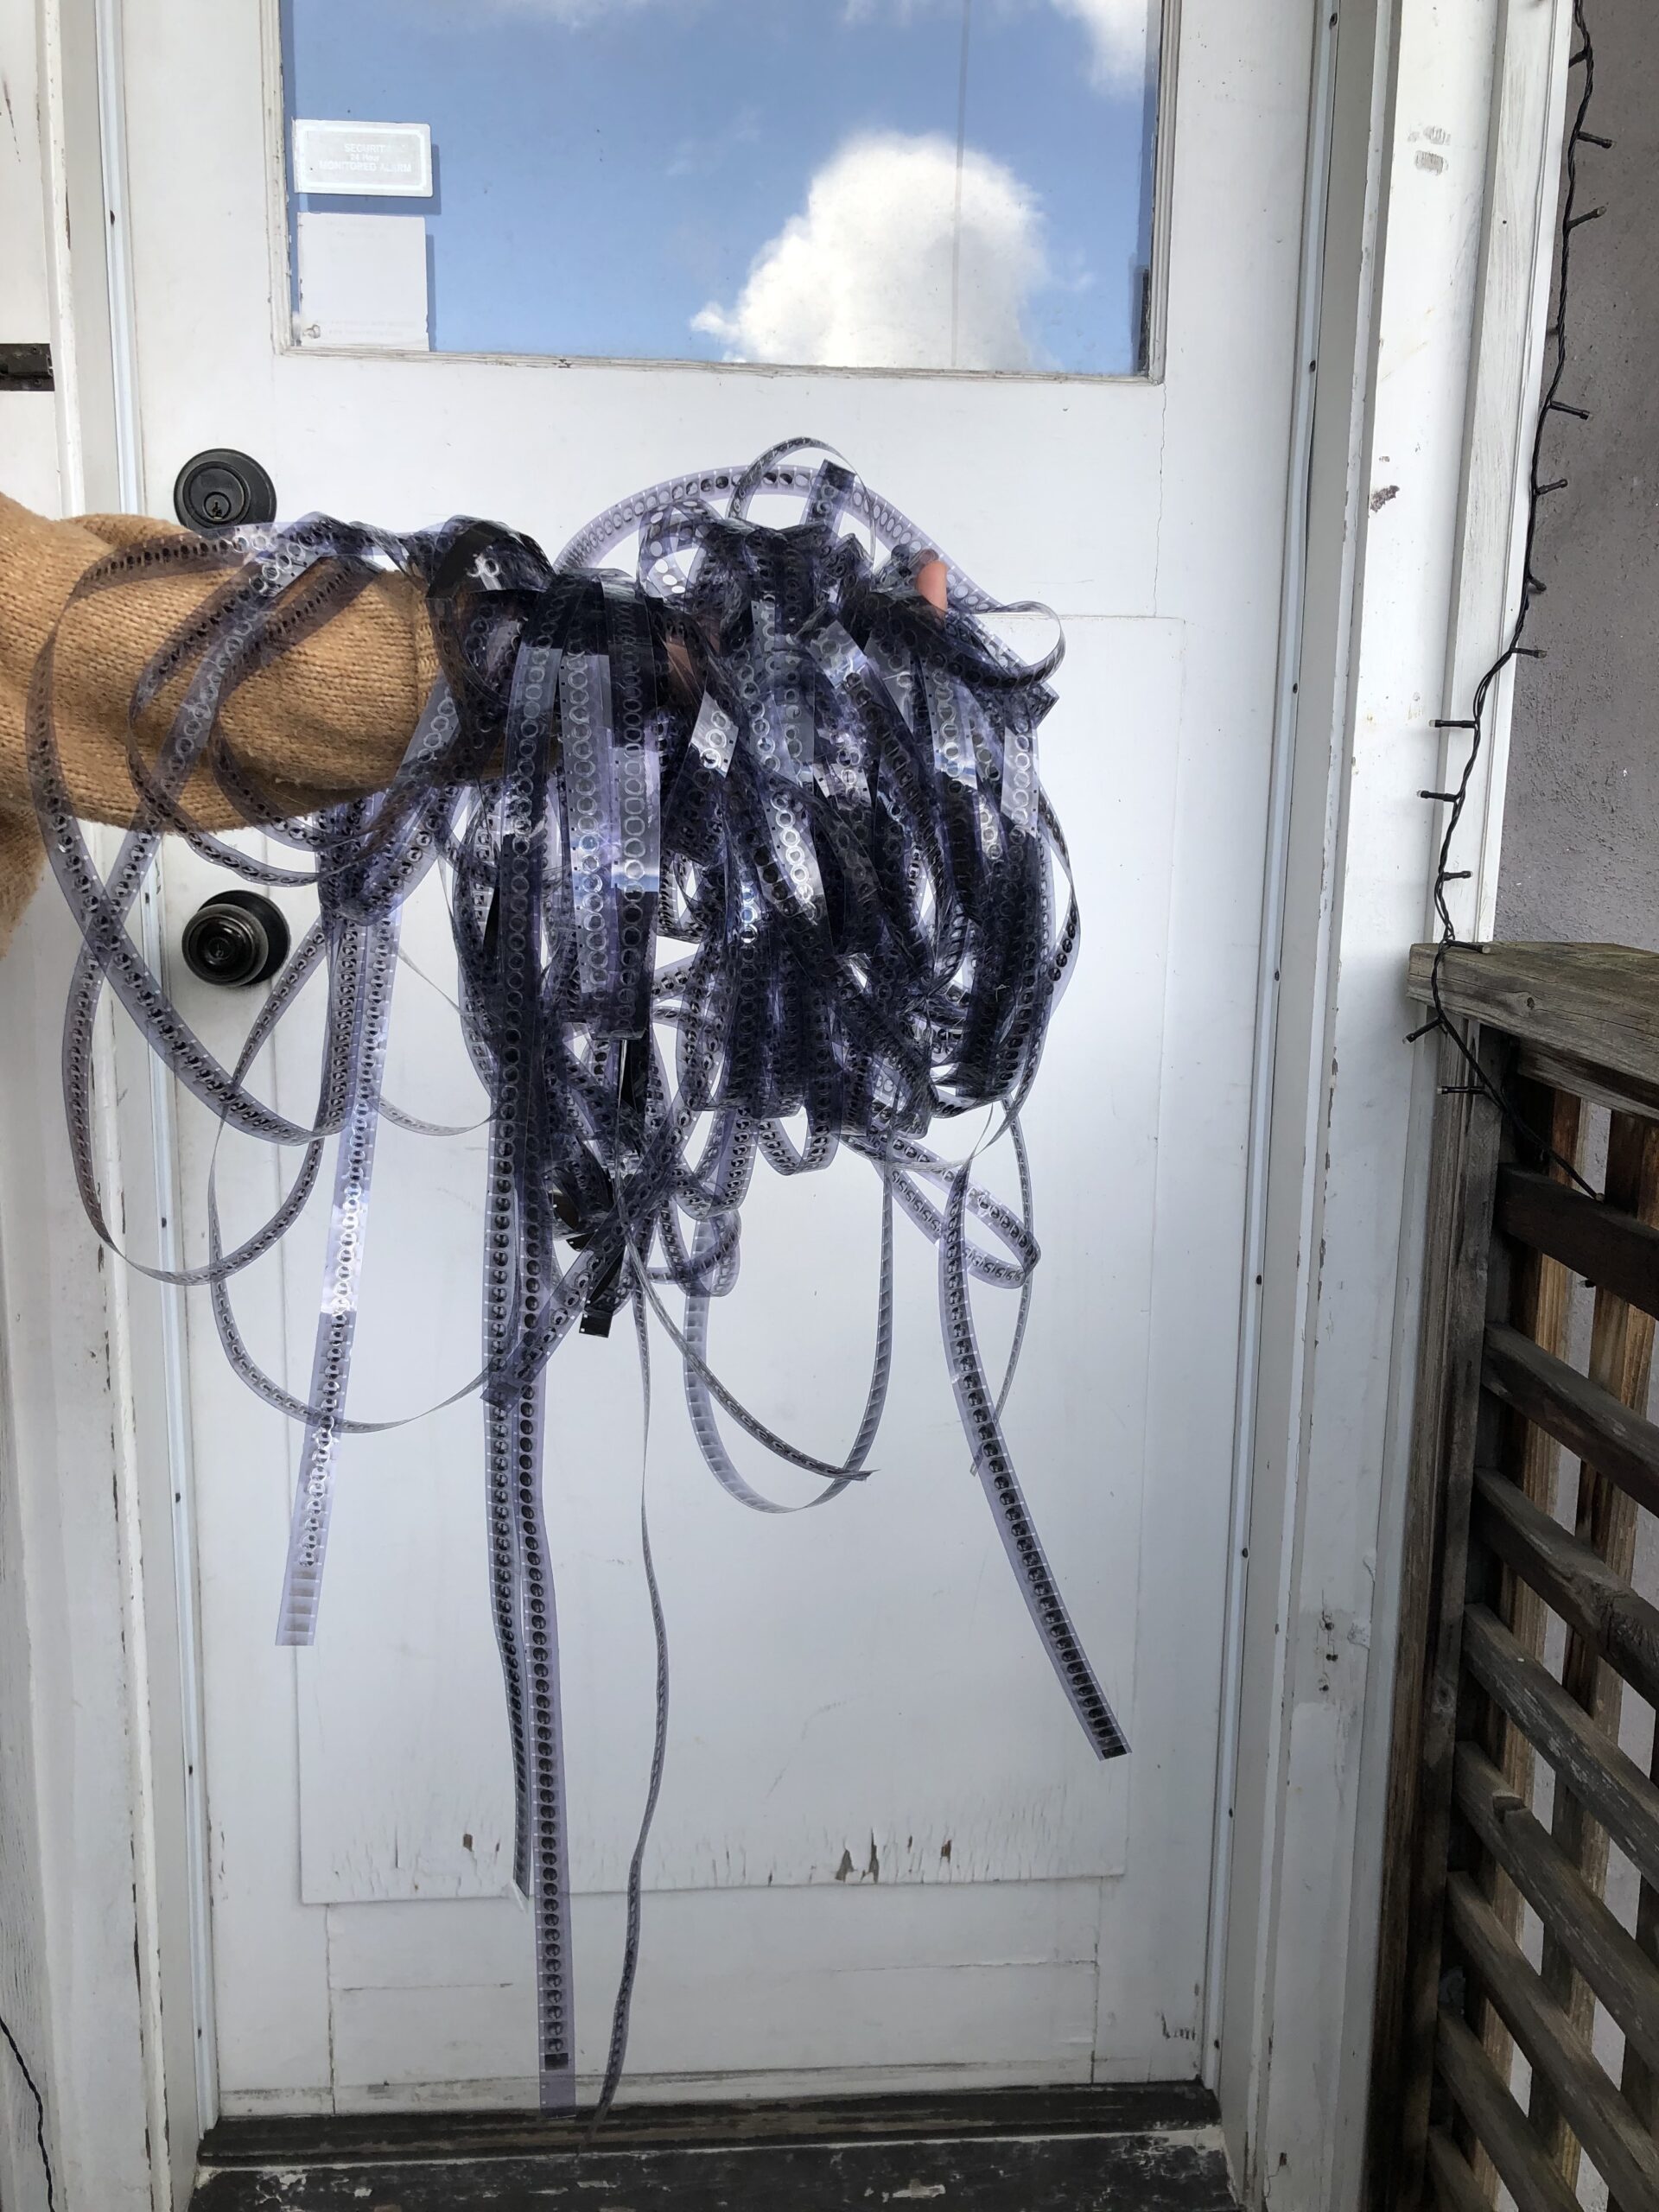
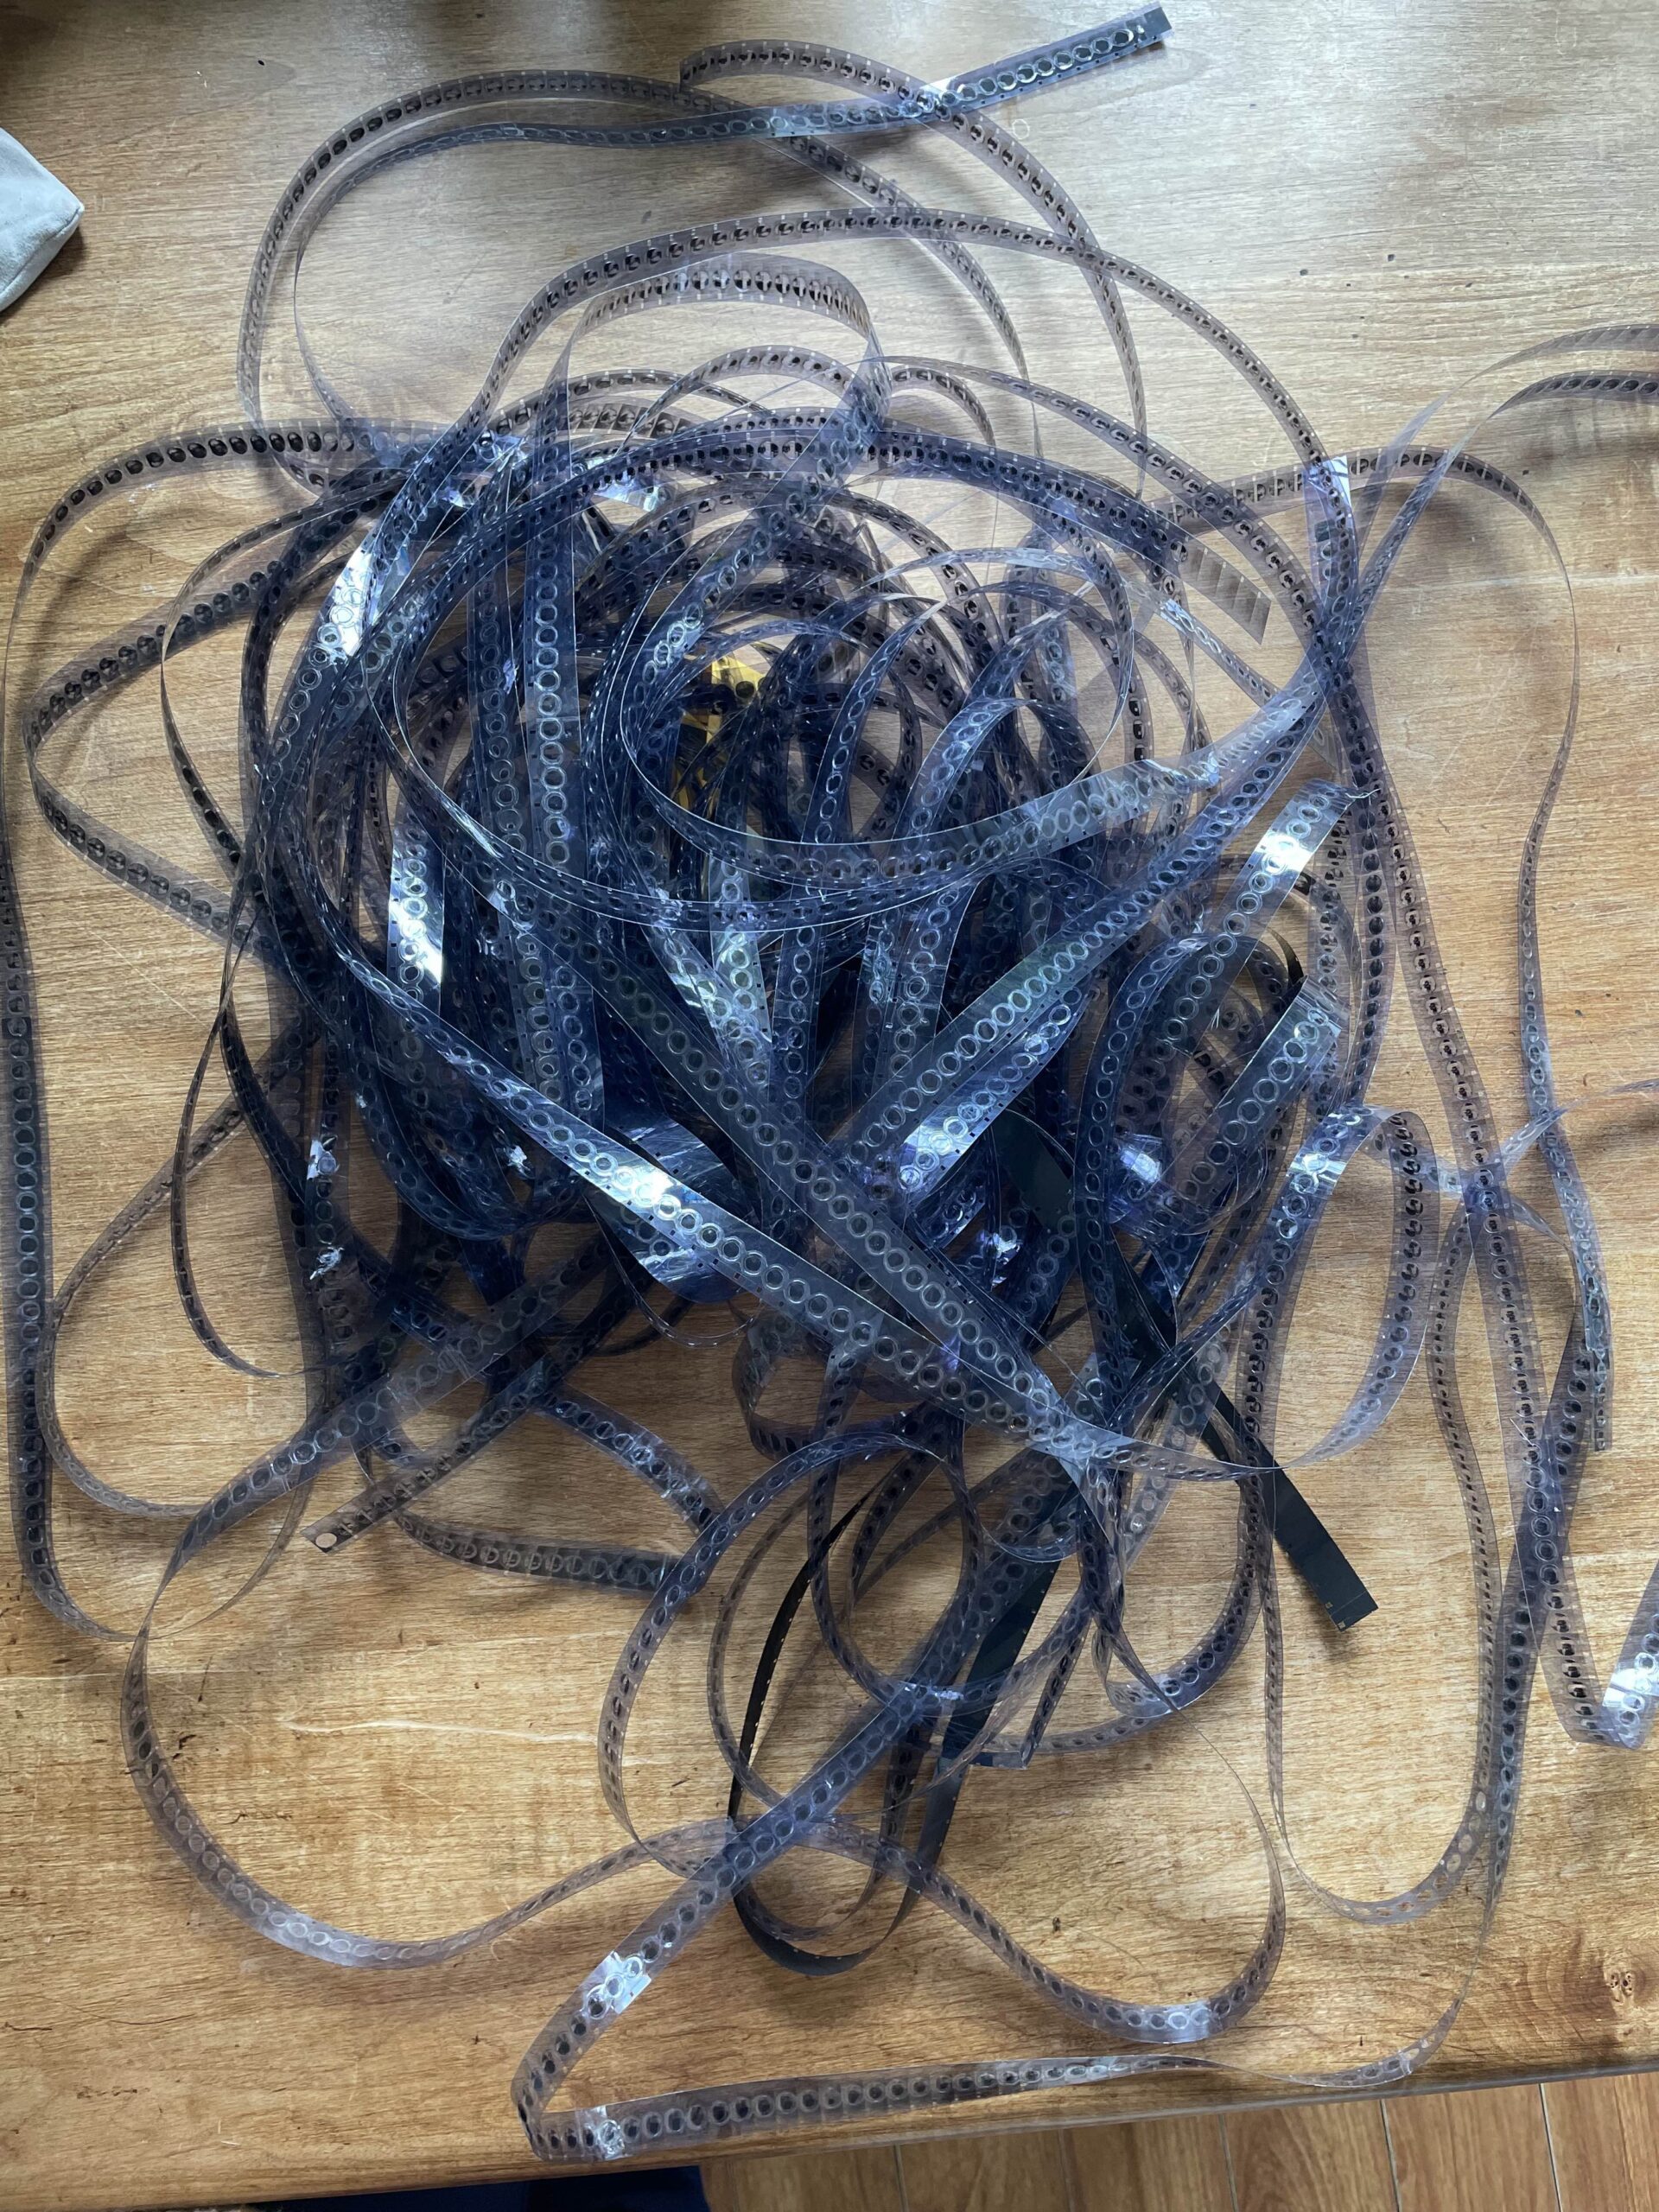
It took multiple sessions and hours to see how the cricut would cut over time and how that was translated to analog frames. Using a cricut mat, which is sticky in nature, I placed both pieces of footage side by side and put them through the machine. When they were finished cutting, I would remove the water footage, letting the leftover circles fly onto my studio floor, and carefully removed the kissing footage to leave the circles of kisses on the mat. I then placed the water footage onto the kissing footage circles so they would fit in like puzzle pieces. Leaving it on the mat, I would take a strip of 16mm splicing tape and place it over the footage, leaving the perforations open and untaped. Remove the film from the sticky mat and do the same to the other side. I could fit about 2.5 seconds on a mat and each pass of placing the film, putting it through the cricut, then taping it together would take about 50 minutes. Overall, the labour time would be 50 minutes for 2.5 seconds of footage. When I had large pieces of footage done and taped together, I took scissors to cut off the tape on the side of the film. I leave the perforations open so I don’t need to worry about ensuring that each perforation hole is empty of tape – making sure there are no issues when I send it to the lab and get a print made and when I want to put it through the projector. If the perforations are blocked by tape and then put through the projector, it would eat up and crumple my film.
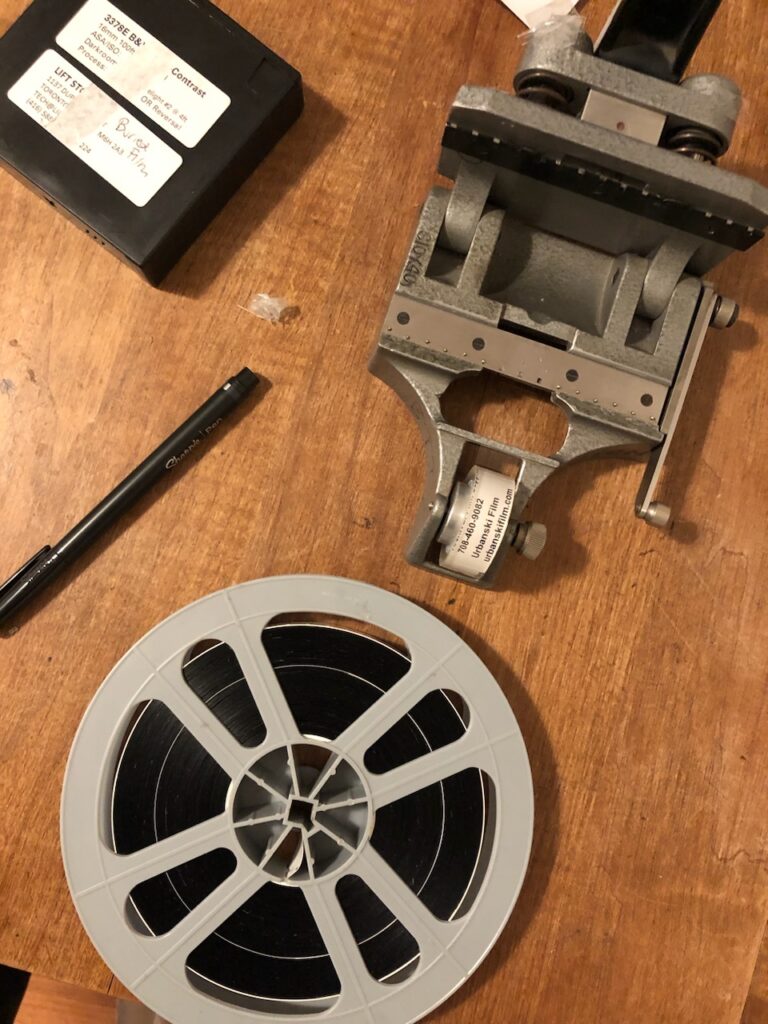
After this process, I sent the film off to Niagara Custom Lab in Toronto to have them make a 16mm exhibition print and a digital scan. This way, the film can be shown as a 16mm print or as a digital scan of the film.